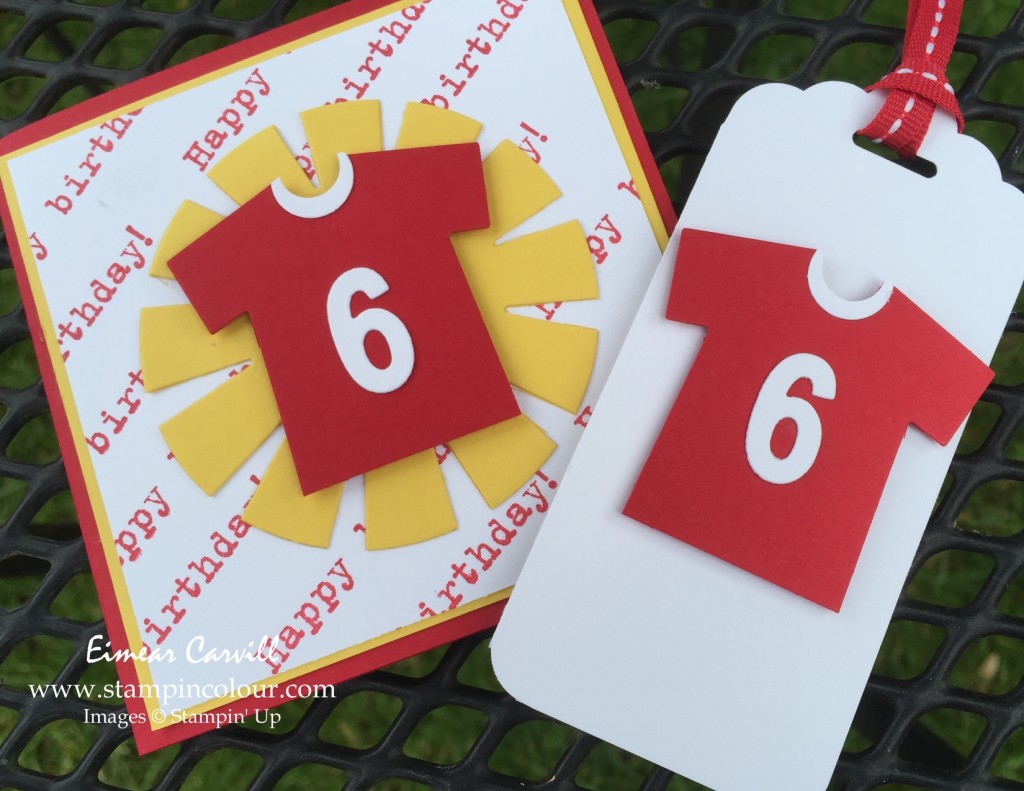
I wanted to show you a very quick card I made for my son’s friend. He turned 6 recently and is a big Liverpool Football fan. For those of you who don’t know they play in red, so I rustled up a quick card using the Baby First framelit dies – not just for babies! To turn the babygrow into a shirt, I just sliced off the leg portion in my trimmer.

I made a square card – something I seem to be making a lot of these days – and I used my sunburst die cut with a circle framelit behind my football shirt as I felt it was a little lost against the backdrop.
I also made a co-ordinating tag using the Tag Topper punch and made another little football shirt. The ribbon I’ve used is now retired, bur our Real Red cotton ribbon would work perfectly.

I hope you like today’s project and gives you some inspiration to see beyond a product’s intended use.
Here are some instructions should you wish to re-create my card:
- Cut your base card in Real Red at 8 inches x 4 and score at 4 inches
- Cut a layer of Daffodil Delight at 3 6/8 x 3 6/8 and a layer of Whisper White at 3 5/8 x 3 5/8
- Stamp ‘Happy Birthday’ from Party with Cake repeatedly at an angle in Real Red – for perfect alignment use a Stamp-a-ma-jig.
- Cut a Sun in Daffodil Delight using the Sunburst Thinlit – then cut with one of the Circle Collection dies.
- Die-cut a baby grow shape with the Baby First Framelits in Real Red. Slice off the legs of the babygrow with your trimmer which will leave you with a shirt shape.
- Punch a shape with the Word Window in Whisper White. Using the negative of the Word Window shape return with your 1/2 inch circle punch and punch over the edge of the word window negative. This will give you a collar shape. Adhere to your shirt and snip off any excess,
- Die cut a number in Whisper White using the Little Number Thinlits and adhere to your shirt.
Adhere your shirt to the Sunburst Shape using dimensionals. Adhere your layers together using Snail or Tombow and then adhere your topper.
Product List
Until next time, happy crafting,
Eimear


