Thank you all for your interest and kind comments on Social Media about the projects I posted from our Technique class at the WLCR Crafty Escape to the Country!
Here is a guide on how to create a candle with stamped images. You do need to be careful, as you need to be with all naked flames, but due to paper being adhered to the outside, it is very important to never leave it unattended.
I’m afraid I can’t share instructions for the other projects as they were part of a Technique class at our Crafty Escape. We are, however, finalising details on our next Crafty Escape which will be held on March 4th and would love it if you were able to join us. You can keep up to date with details of our next retreat by following our WLCR Facebook page.
So back to the candle instructions.
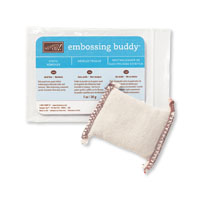
- Firstly, if heat embossing like with my candle, swipe your embossing buddy all over the tissue paper to ensure that when you apply the embossing powder it only sticks to the versamark and not to any fingerprints you may leave behind.
- Stamp several images from It’s a Celebration in Versamark. Sprinkle some silver embossing powder on the tissue paper – flicking off any excess from the rear. If there are still any stubborn flecks of embossing powder, use a small paintbrush to carefully remove them.
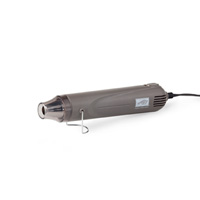
- Heat carefully with your heat gun. I would advise holding the tissue paper with tweezers as it’s a lot more difficult to heat emboss tissue paper than normal cardstock – only becase it is more fly-away and easier to brun your fingers! It is a very quick process and it still amazes me to watch that dull powder become shiny and beautful!

- Stamp several images in Sweet Sugarplum, then cut round the stamped images and embossed images with your snips as close as you can to the image itself.
- Place a couple of images on one side of the candle where you think they look best – just a few at a time as shown.

- Cut a piece of baking parchment, baking paper or wax paper the same height as the candle but longer than its circumference so that you have enough extra paper to wrap tightly around it and extra to grip it tightly at the rear. You will be able to see your stamped images through the paper which you then heat with a heat gun.

- This is the only tricky part. It is better to heat a little at a time and check regularly or you will overheat the candle and the wax could begin to drip.
- Do peel pack the paper to check – as you can see in next photo the silver image is ready – but the sweet sugarplum needs a few more seconds. Once it is ready, the tissue paper will miraculously disappear as the wax heats behind the image and the tissue paper ‘melts’ into the candle.

- Once they are ready, and you can no longer see the tissue paper, you can continue to place other images around the candle until you are happy with your project. It’s as simple as that!

One piece of advice – you can continue to use the same piece of baking paper, but do change the area you are heating so that you use a different portion of the paper. If some of the molten wax attaches to the paper and you move it to another section you could spoil the smooth finish of the candle.
I hope that helps – here is everything from Stampin’ Up that I used. I also used a candle (of course!), tissue paper and some baking paper.
Until next time, happy crafting,
Eimear
Product List


