


I’ve had a few requests for instructions on my door on the card I posted for the Stampin’ Creative Blog Hop on Saturday so have snapped a few pics and hope it makes sense to you all.
You can see the original card here.
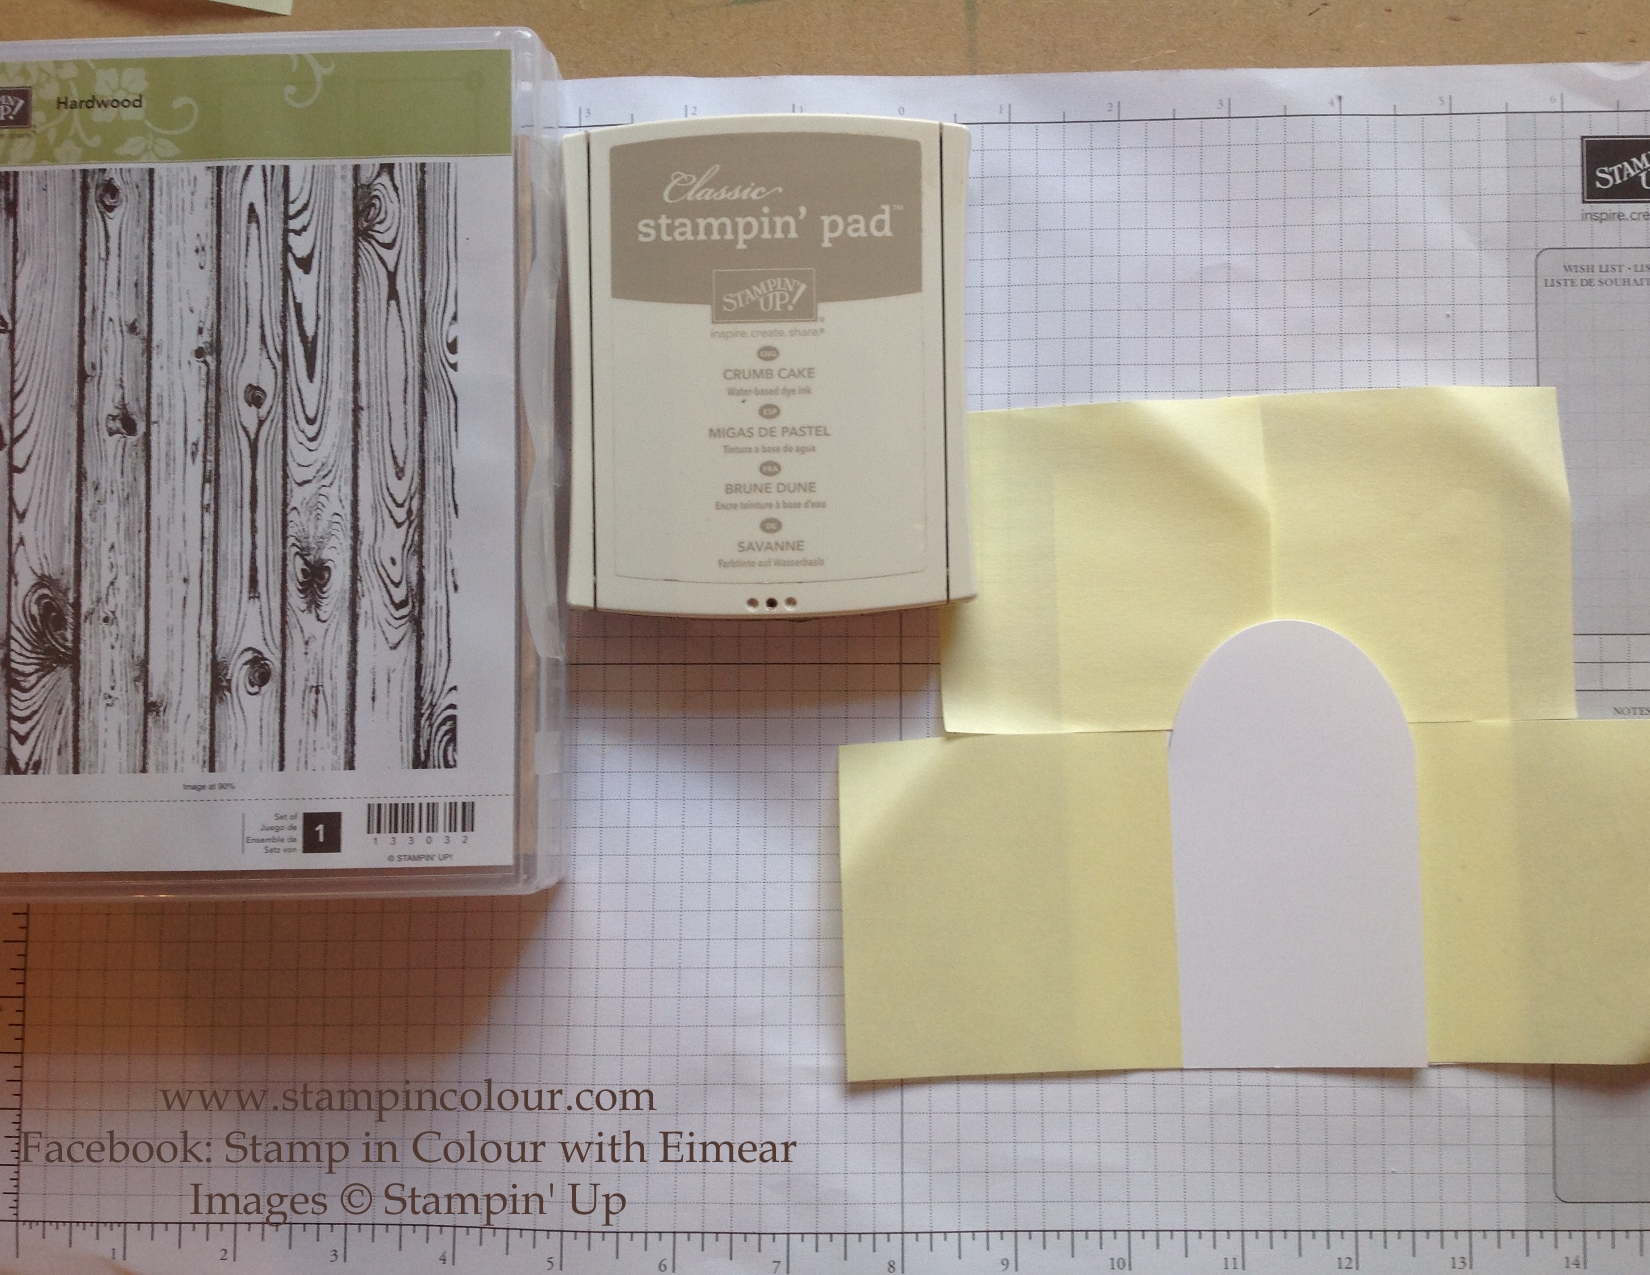
So I took my piece of Whisper White card, my oval framelits, my Big Shot and my magnetic platform – this is great when you want a framelit to stay exactly where you put it!

Only put the cutting plate over the section you want to be cut, the rest you can leave uncovered.
You will then end up with just the top arc cut out. Place your piece of Whisper White on your Stampin’ Trimmer which has both a cutting blade (dark grey) and scoring blade (light grey). Use the cutting blade to firstly cut from the edge of the paper to the start of your arc on the right hand side.

Then on the left hand side, use the scoring blade to score a line from the edge of the paper to the start of your arc.

Mask off the rest of your cardstock leaving the door exposed and stamp the wood effect using the Hardwood Background stamp in Crumb Cake and sponge over with Crumb Cake ink.
Then mask the door and sponge your ‘hedge’ with the leaves from Crazy about You in Wild Wasabi.

I do hope that gives you a good insight into how I created my card, but if you have any specific questions do leave a comment or get in touch. Don’t forget today is the very last day of Sale-a-bration, all your exclusive free products will be gone from 11pm tonight, so don’t miss out! Head up to my online shop and earn yourself a free SAB product for every £45 you spend.
Until next time, happy crafting,
Eimear